Get to Know the Tools
-
1Introduction
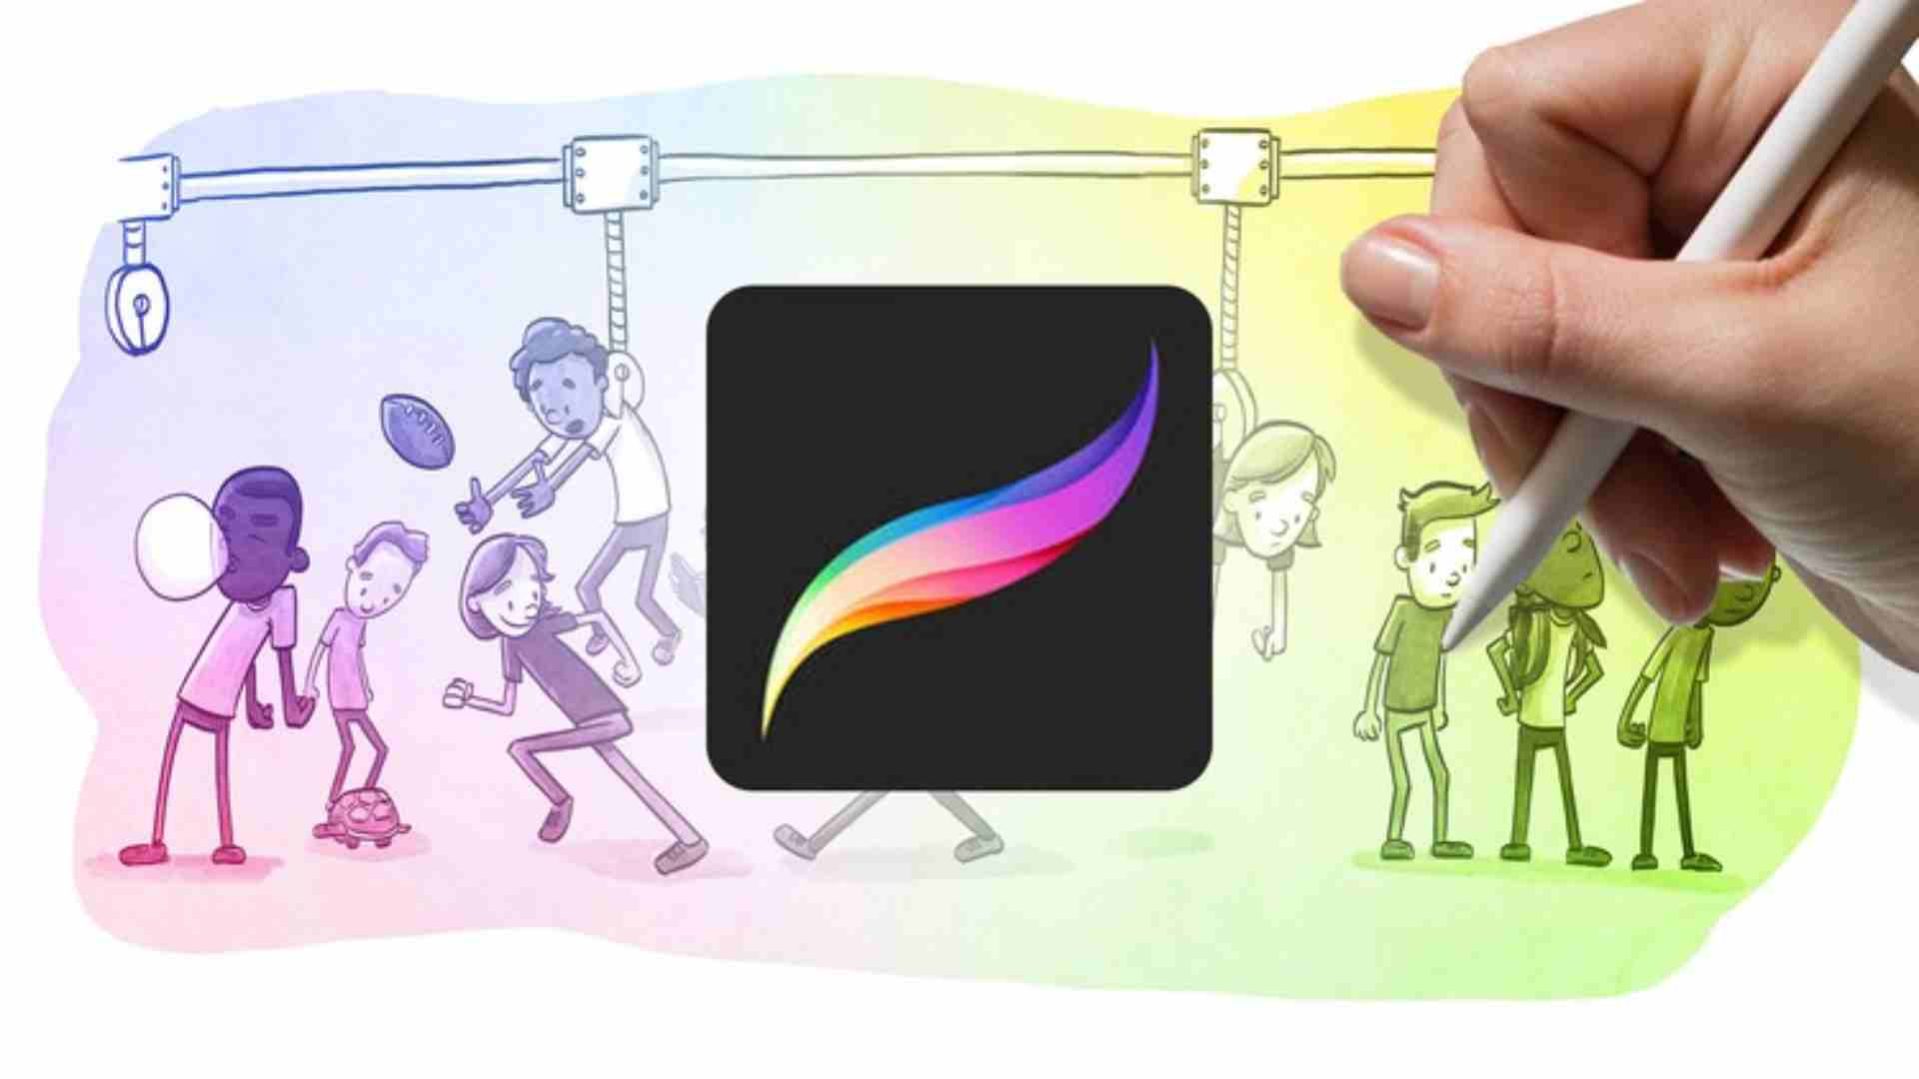
Welcome to the course where we are going to be drawing in Procreate on the iPad. in this lecture I'm going over the course and what you can expect and what you will need to take this class.
-
2Getting Started - Files and Folders
Procreate's gallery is pretty simple but there are a lot of hidden features here like the ability to create folders, exporting and bulk actions.
-
3Getting Started - Creating a Canvas
The canvas is where you draw in Procreate. By default it's the size of your screen but there is a lot of flexibility in the sizes, unites of measurement and DPI that you can use.
Advanced Tools
-
4The Basic Tools
Where are the brushes? How do I erase? How do I change brushes sizes? We go over the basics and where you can find everything in Procreate.
-
5The Brush Tool
The brush tool is one of the most powerful features in Procreate. In this section we go over some of the brush presets that can be pencils, pens, paint brushes, air brushes, special effects and much much more.
-
6Shading With Brushes
In this section we take some of the brushes and use them in a practical application, shading a sphere. This is a common digital painting technique and this is how you do it in Procreate.
-
7Activity 1
This is the first activity. I want you to take what we learned about brushes and use them to shade some spheres or share to get a feel for the different brushes available in Procreate.
Drawing A Comic
-
8Intro to Layers
Making a layer is easy, but how do the pros use layers? That's what we're going over in this section. And to do it we're going to be sketching and painting a strawberry.
-
9Intro to Layers part 2
Now that we have the sketch and basic colors in place we are going to add shadows and shadings.
-
10Blend Modes
There is a lot more to layers beyond just opacity. There are a lot of blending modes. In this section I go over the blending modes and talk about how we can use them in our work.
-
11Color and Color Pallets
There are a lot of cool features tucked into the color picker as well. There are color pallet options. You can create, share and delete color pallets.
-
12Advanced Brush Tool
There is a lot more you can do with the brush tool. I'm changing things up in this video and showing my hands because this is an iPad program there are a lot of hand gestures we can use to speed up our drawing process.
More Cool Features
-
13Selection Tool Part 1
The selection tool? that doesn't sound very exciting, but it is. This addition to procreate really speeds up your drawing. We go into detail in this section on how to use it.
-
14Selection Tool Part 2
Now that we have a general idea what can be done with the selection tool we put it to work. We are going to start drawing a comic strip starting with the panels and how the selection tool speeds that up.
-
15Drawing A Comic
Lets keep drawing our comic. In this section were going to reinforce a lot of the things we've learned in the last couple sections of this tutorial.
-
16Coloring The Comic
In this section we go over coloring. Specifically we dive into something called a reference layer that allows us to quickly color while keeping our colors on a separate layer.
-
17Coloring Backgrounds
In this section we're coloring the backgrounds. We're also going to be learning about blurring and color adjustments.
-
18Activity 2
This is the second activity. The goal is to take what you have learned so far and apply it to your own comic strip.
The Final Project
-
19Importing and Exporting
There are a lot of features in Procreate that aren't immediately noticeable. Importing and exporting is one of them. You can export in many formats you can even bring in you Photoshop files and edit them and export them back to Photoshop.
-
20Video Settings
One of the coolest features in Procreate is the ability to export a speed drawing of your artwork you can share on social media. But there is even more in here like the ability to record your voice or stream online live as you draw.
-
21Smudge Tools
There is also a smudge tool. In this lesson I go over the basics of how it works and how to apply textures to your smudges.
-
22Advanced Hand Gestures
More hand gestures. These go more in depth.
-
23Organizing Brushes
We've already learned all about using brushes, but how do you organize them? can I put all my favorites in one place? (spoiler alert: Yes!)
-
24Creating Brushes
Now that our brushes are organized lets make some new ones from scratch. Do you have a great texture or just want to recreate a brush that you loved from another app, you can do that here.
-
25Importing Brushes
If you don't want to make your own brushes no worries, there are thousands of brushes you can grab online, some of them really amazing too. In this section we go over where you can find them and how to import them.
-
26Options, Options and More Options
There is a lot more in Procreate. In this section I go over all the little options where you can customize this app to your liking.
Procreate 4.1 Updates
-
27Final Project Part 1
This is the final project. Where we take everything we've learned up to this point and put it into one composition.
-
28Final Project Part 2
In part two we start creating the background and layer textures on top of each other to create some cool effects.
-
29Final Project Part 3
This is it, we wrap up our final project and add more textures to the leaves.
-
30Bonus: Drawing with Masks
Several folks have asked me to go into more details about masks and how those can be used in their artwork. In this section I use some newspaper textures and apply them to my illustration using masks.


